ESP32-C6 2.9inch E-ink Screen Temperature, humidity and air pressure display, weather forecast Support Zigbee Bluetooth and wifi
Designed by Maker go in China
Buy with confidence.
Our Tindie Guarantee protects your purchase from fraud. Learn More
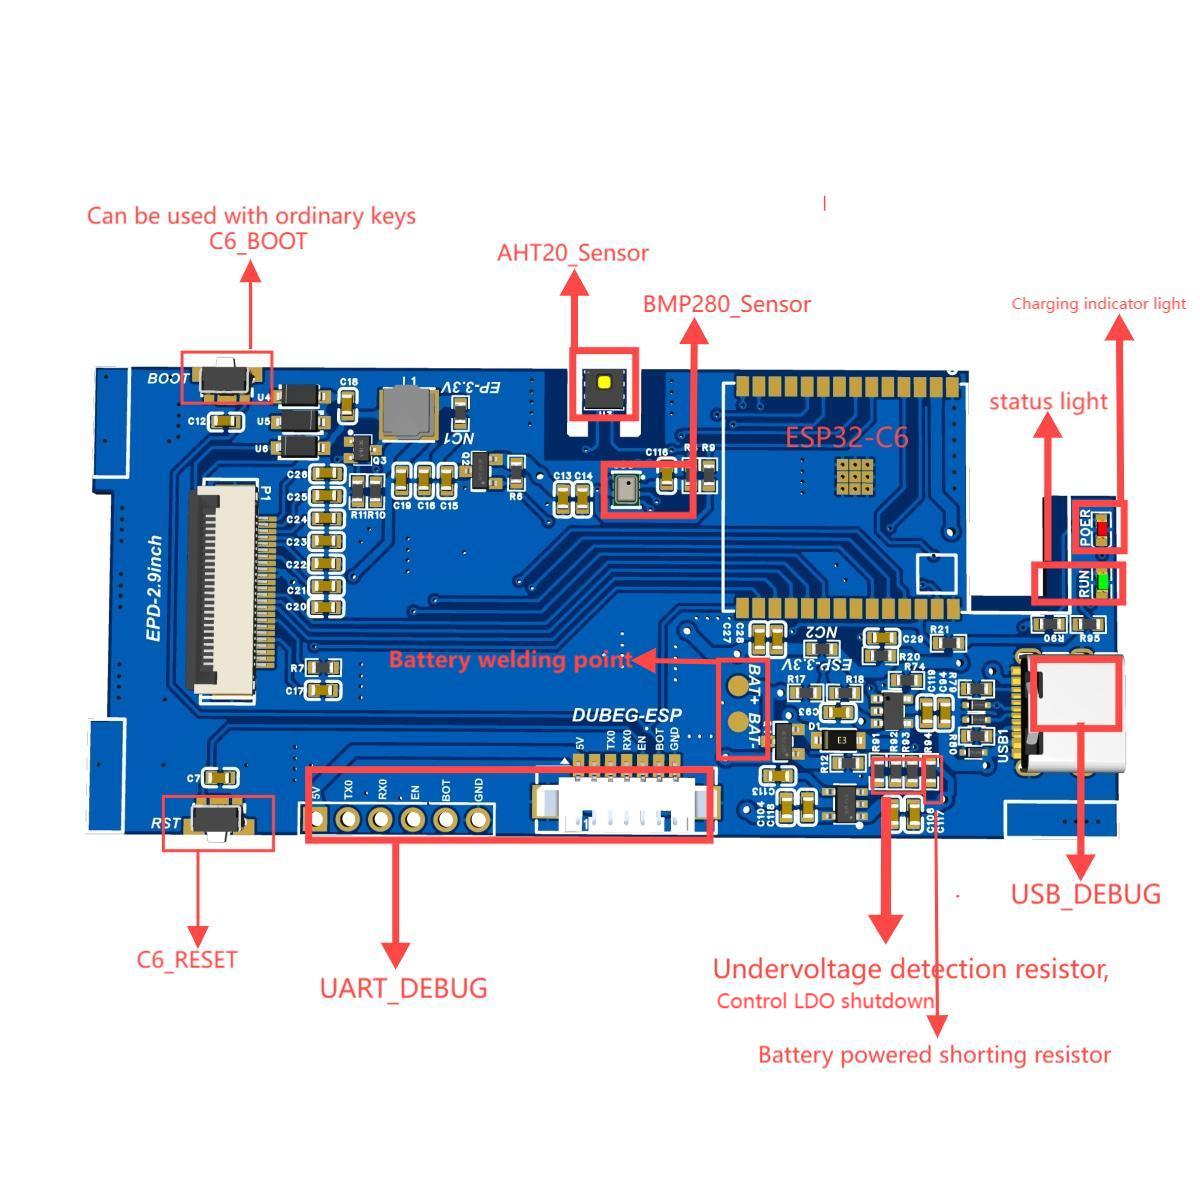
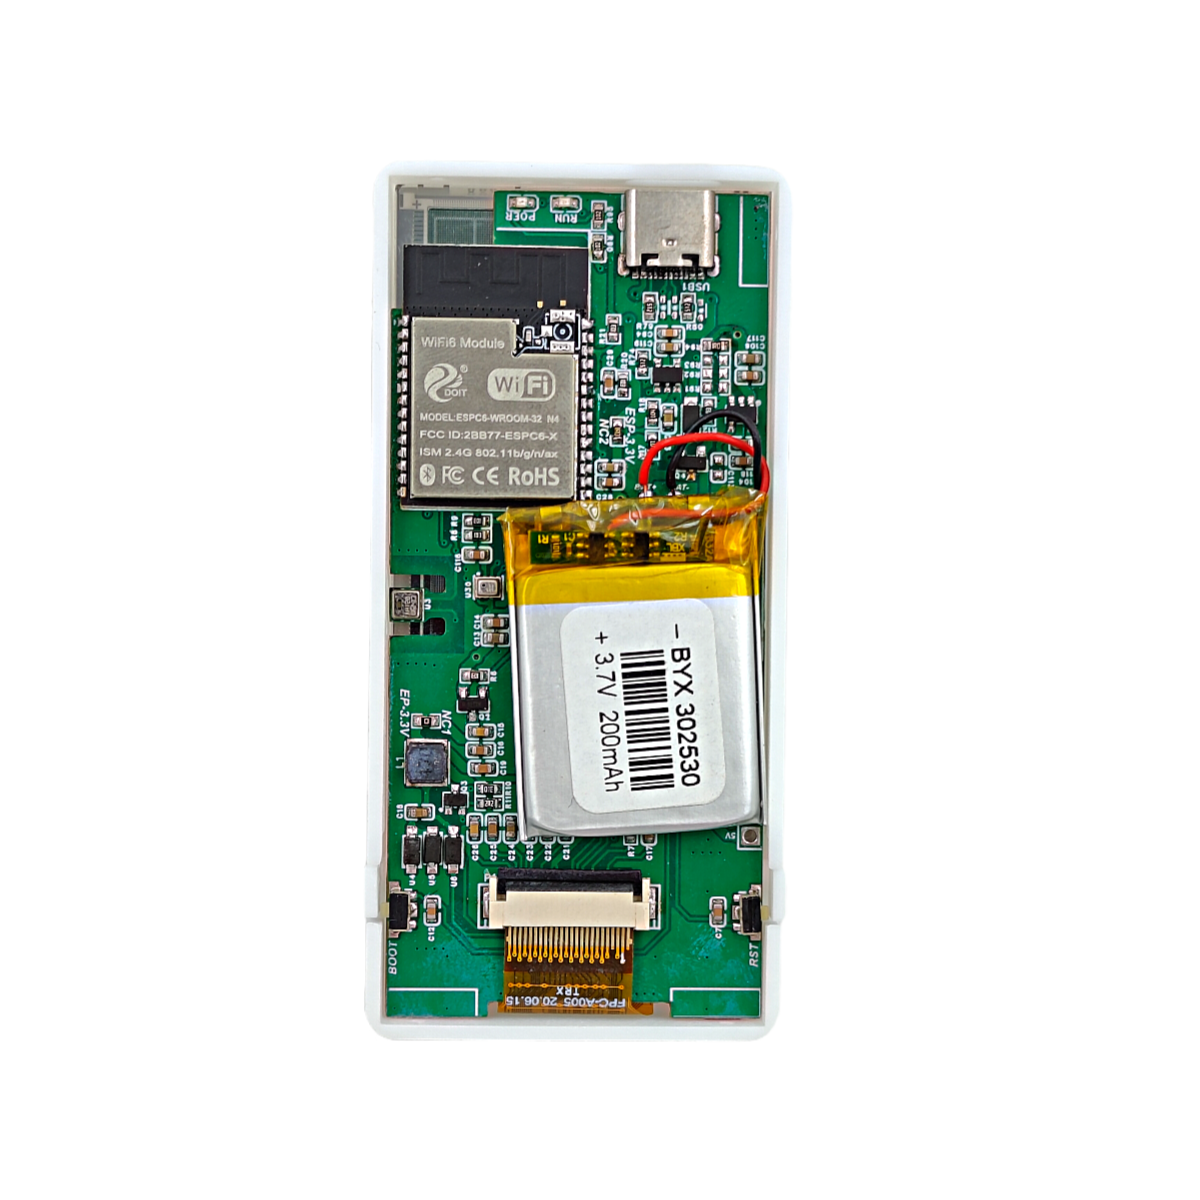
Hardware specifications Main control: ESP32C6_N4 (Wifi-6, Bluetooth5.3, Zigbee3.0) USB input: 5V Battery: 3.7V--200mAh. Dimensions: 3x thick/25 long/x30 wide mm Sensor: AHT20, BMP280 Screen…
Read More…Hardware specifications
Main control: ESP32C6_N4 (Wifi-6, Bluetooth5.3, Zigbee3.0)
USB input: 5V
Battery: 3.7V--200mAh. Dimensions: 3x thick/25 long/x30 wide mm
Sensor: AHT20, BMP280
Screen: 2.9-inch electronic ink screen. Driver chip: SSD1680Z. Resolution: 128x296. SPI interface.
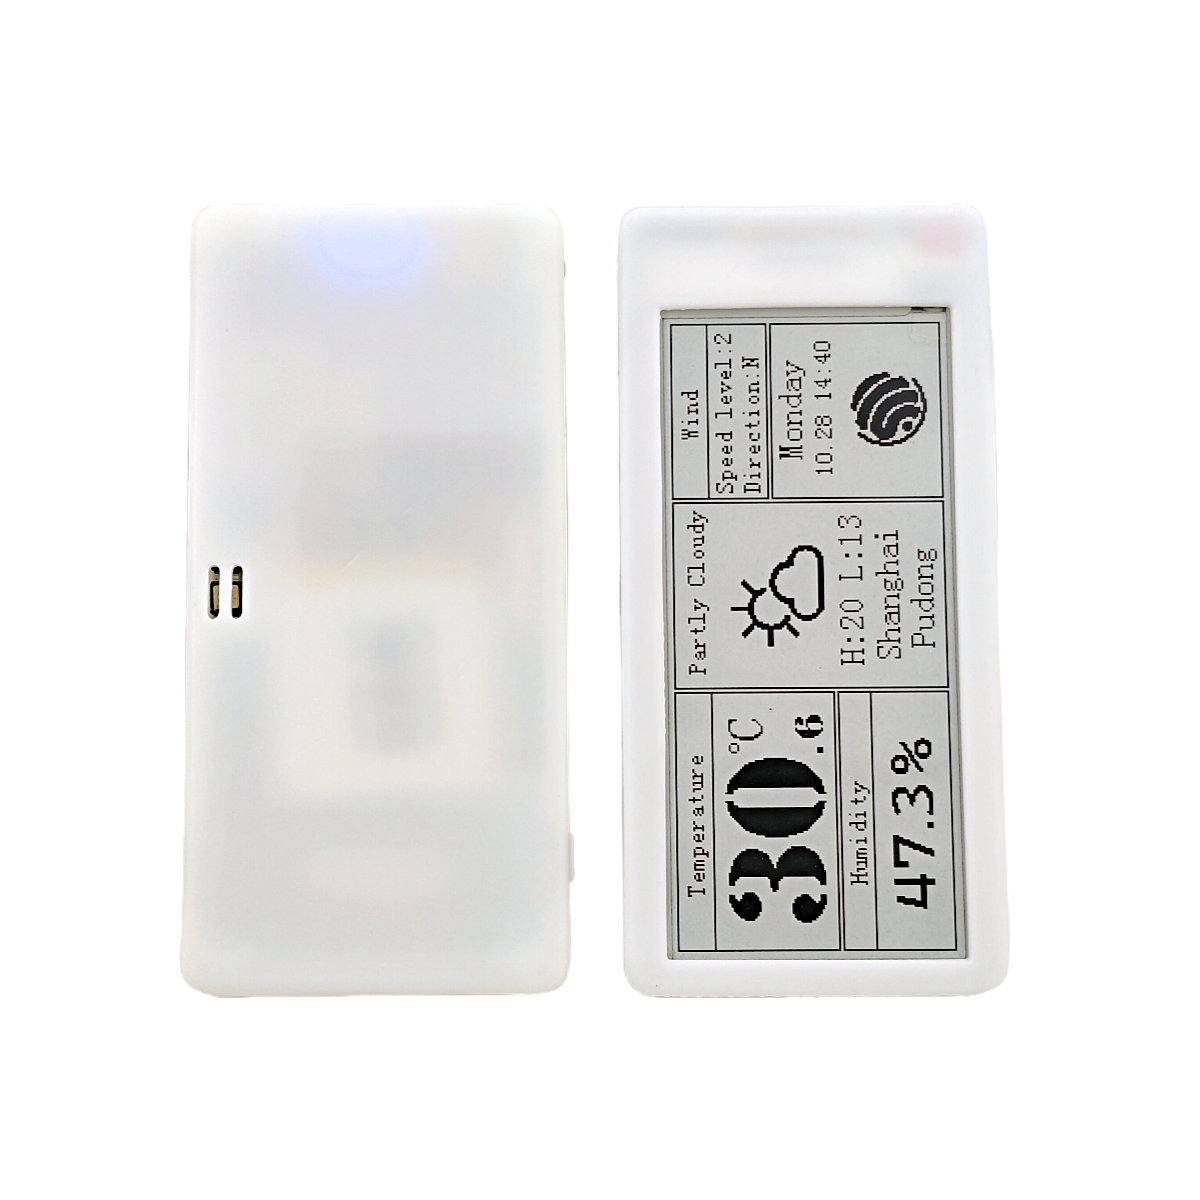
Shell: 3D resin printing
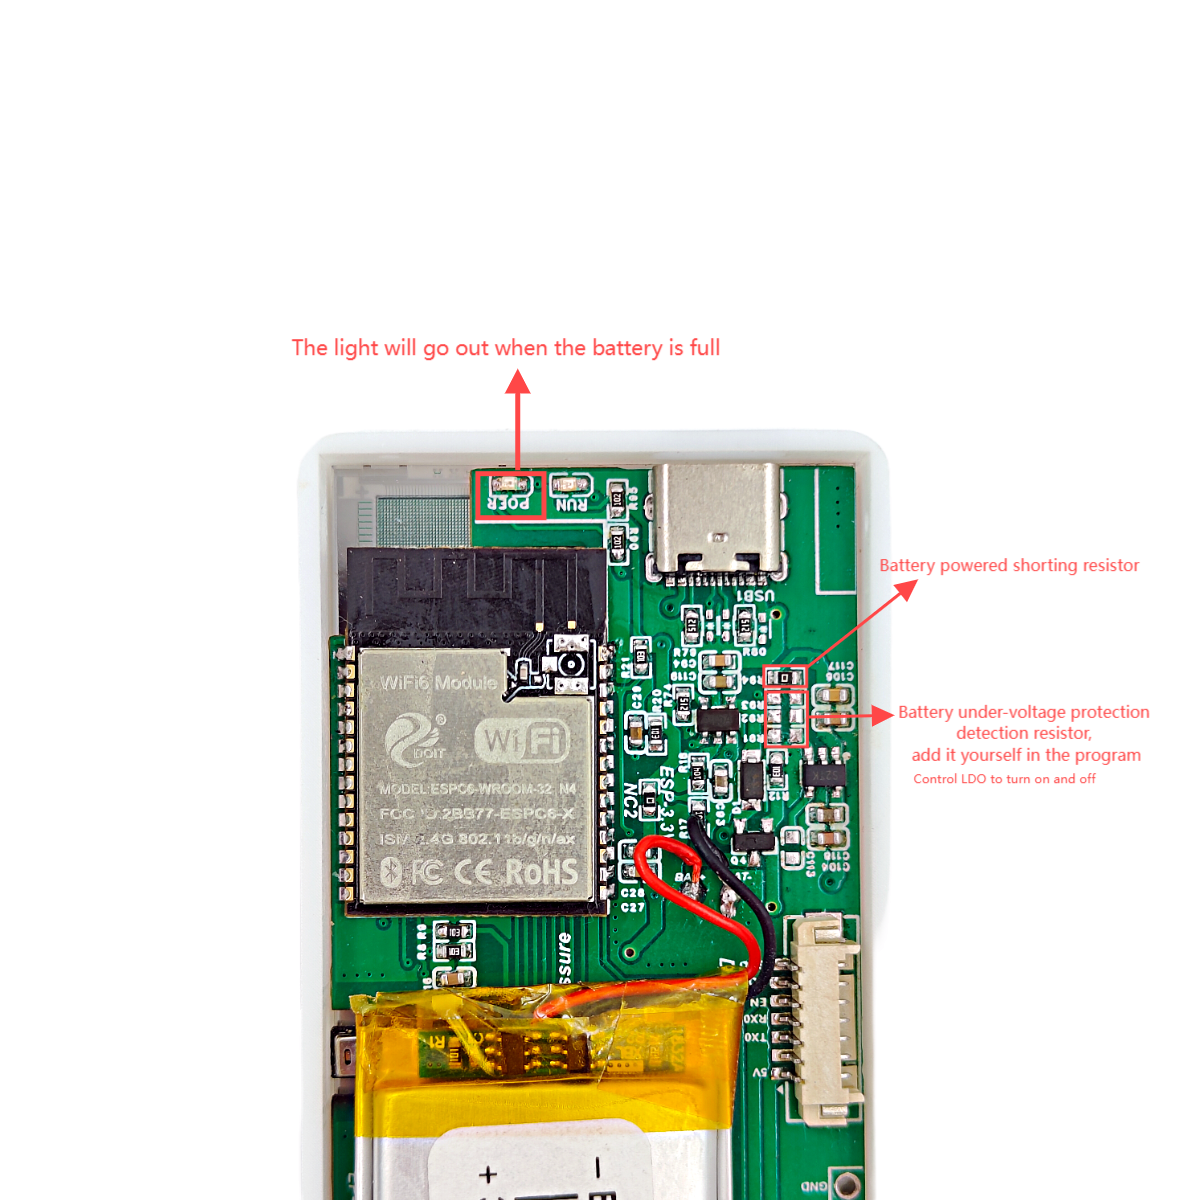
Here we use an LDO with a static power consumption of 30uA. Maybe low power consumption isn't ideal. It can be replaced by a low-power LDO to achieve low power consumption through program coordination. These are all possible.
Internal working voltage: 3.3V
Supports secondary development definition, we provide corresponding source code, and the playability is very good.
Our hardware refers to Espressif’s hardware and code, and a BMP280 air pressure sensor is also added to the hardware.
Software description:
The software comes in two ways:
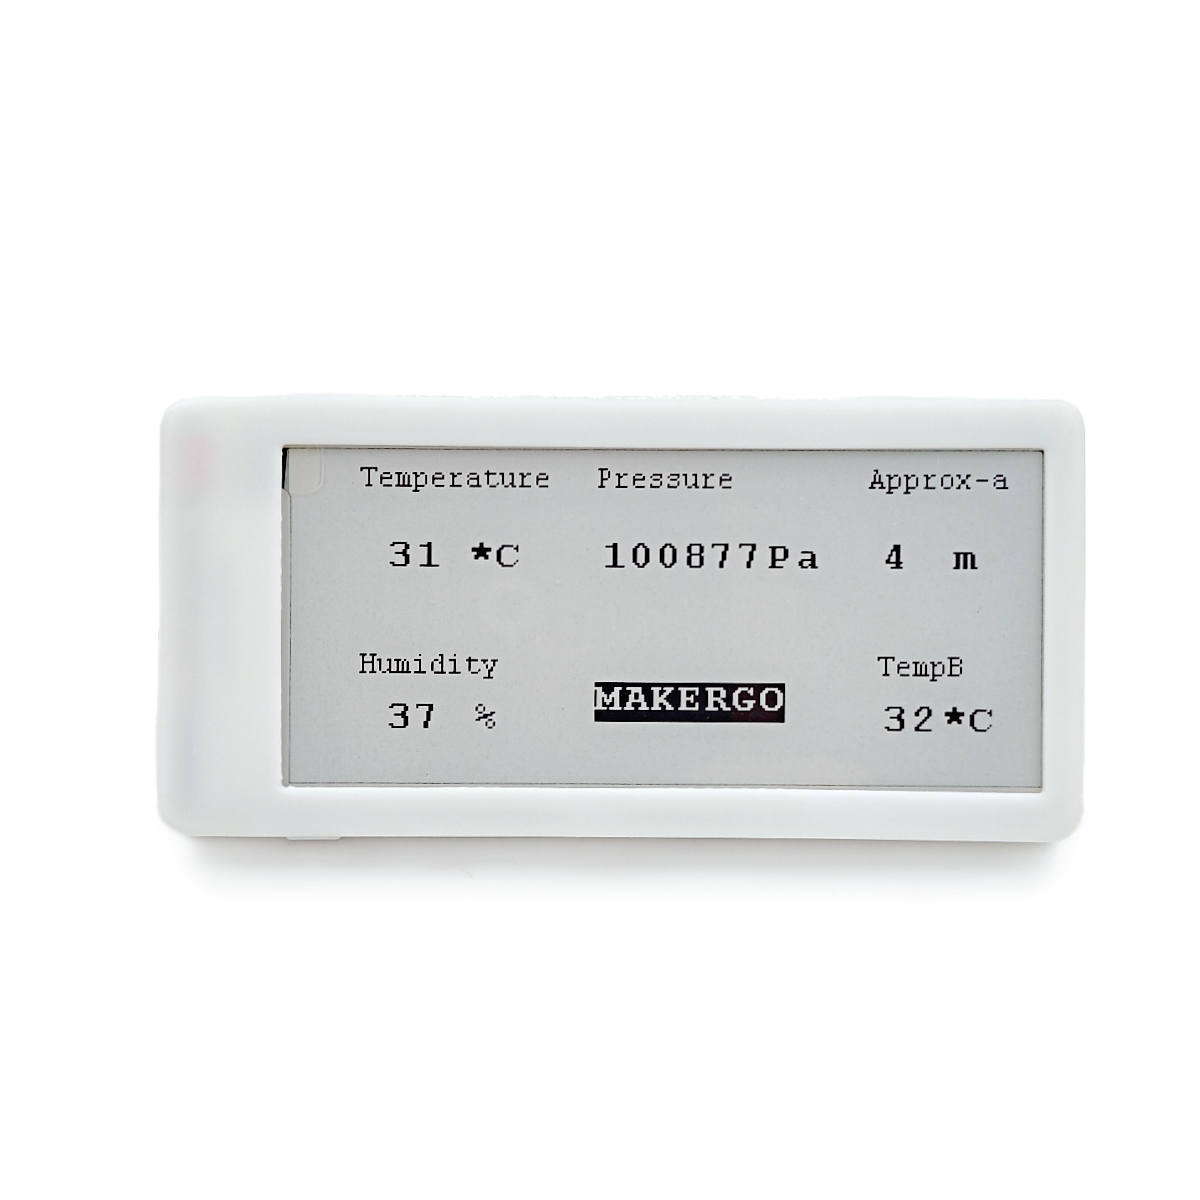
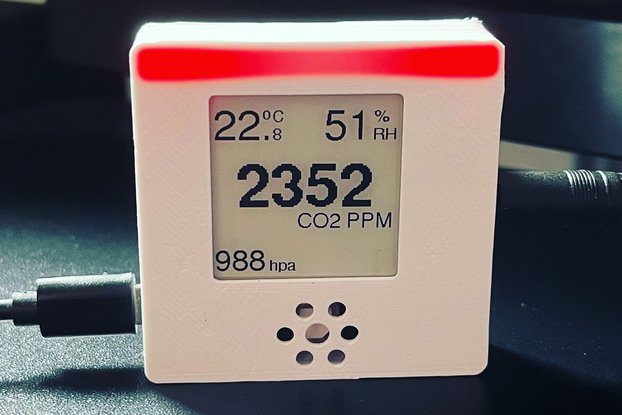
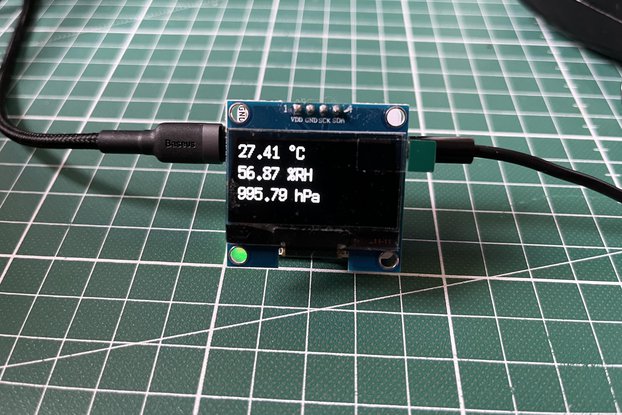
The first way is through arduino programming. We make a basic display test program, which can be implemented through typec port programming. It can display temperature, humidity and air pressure information as shown below.
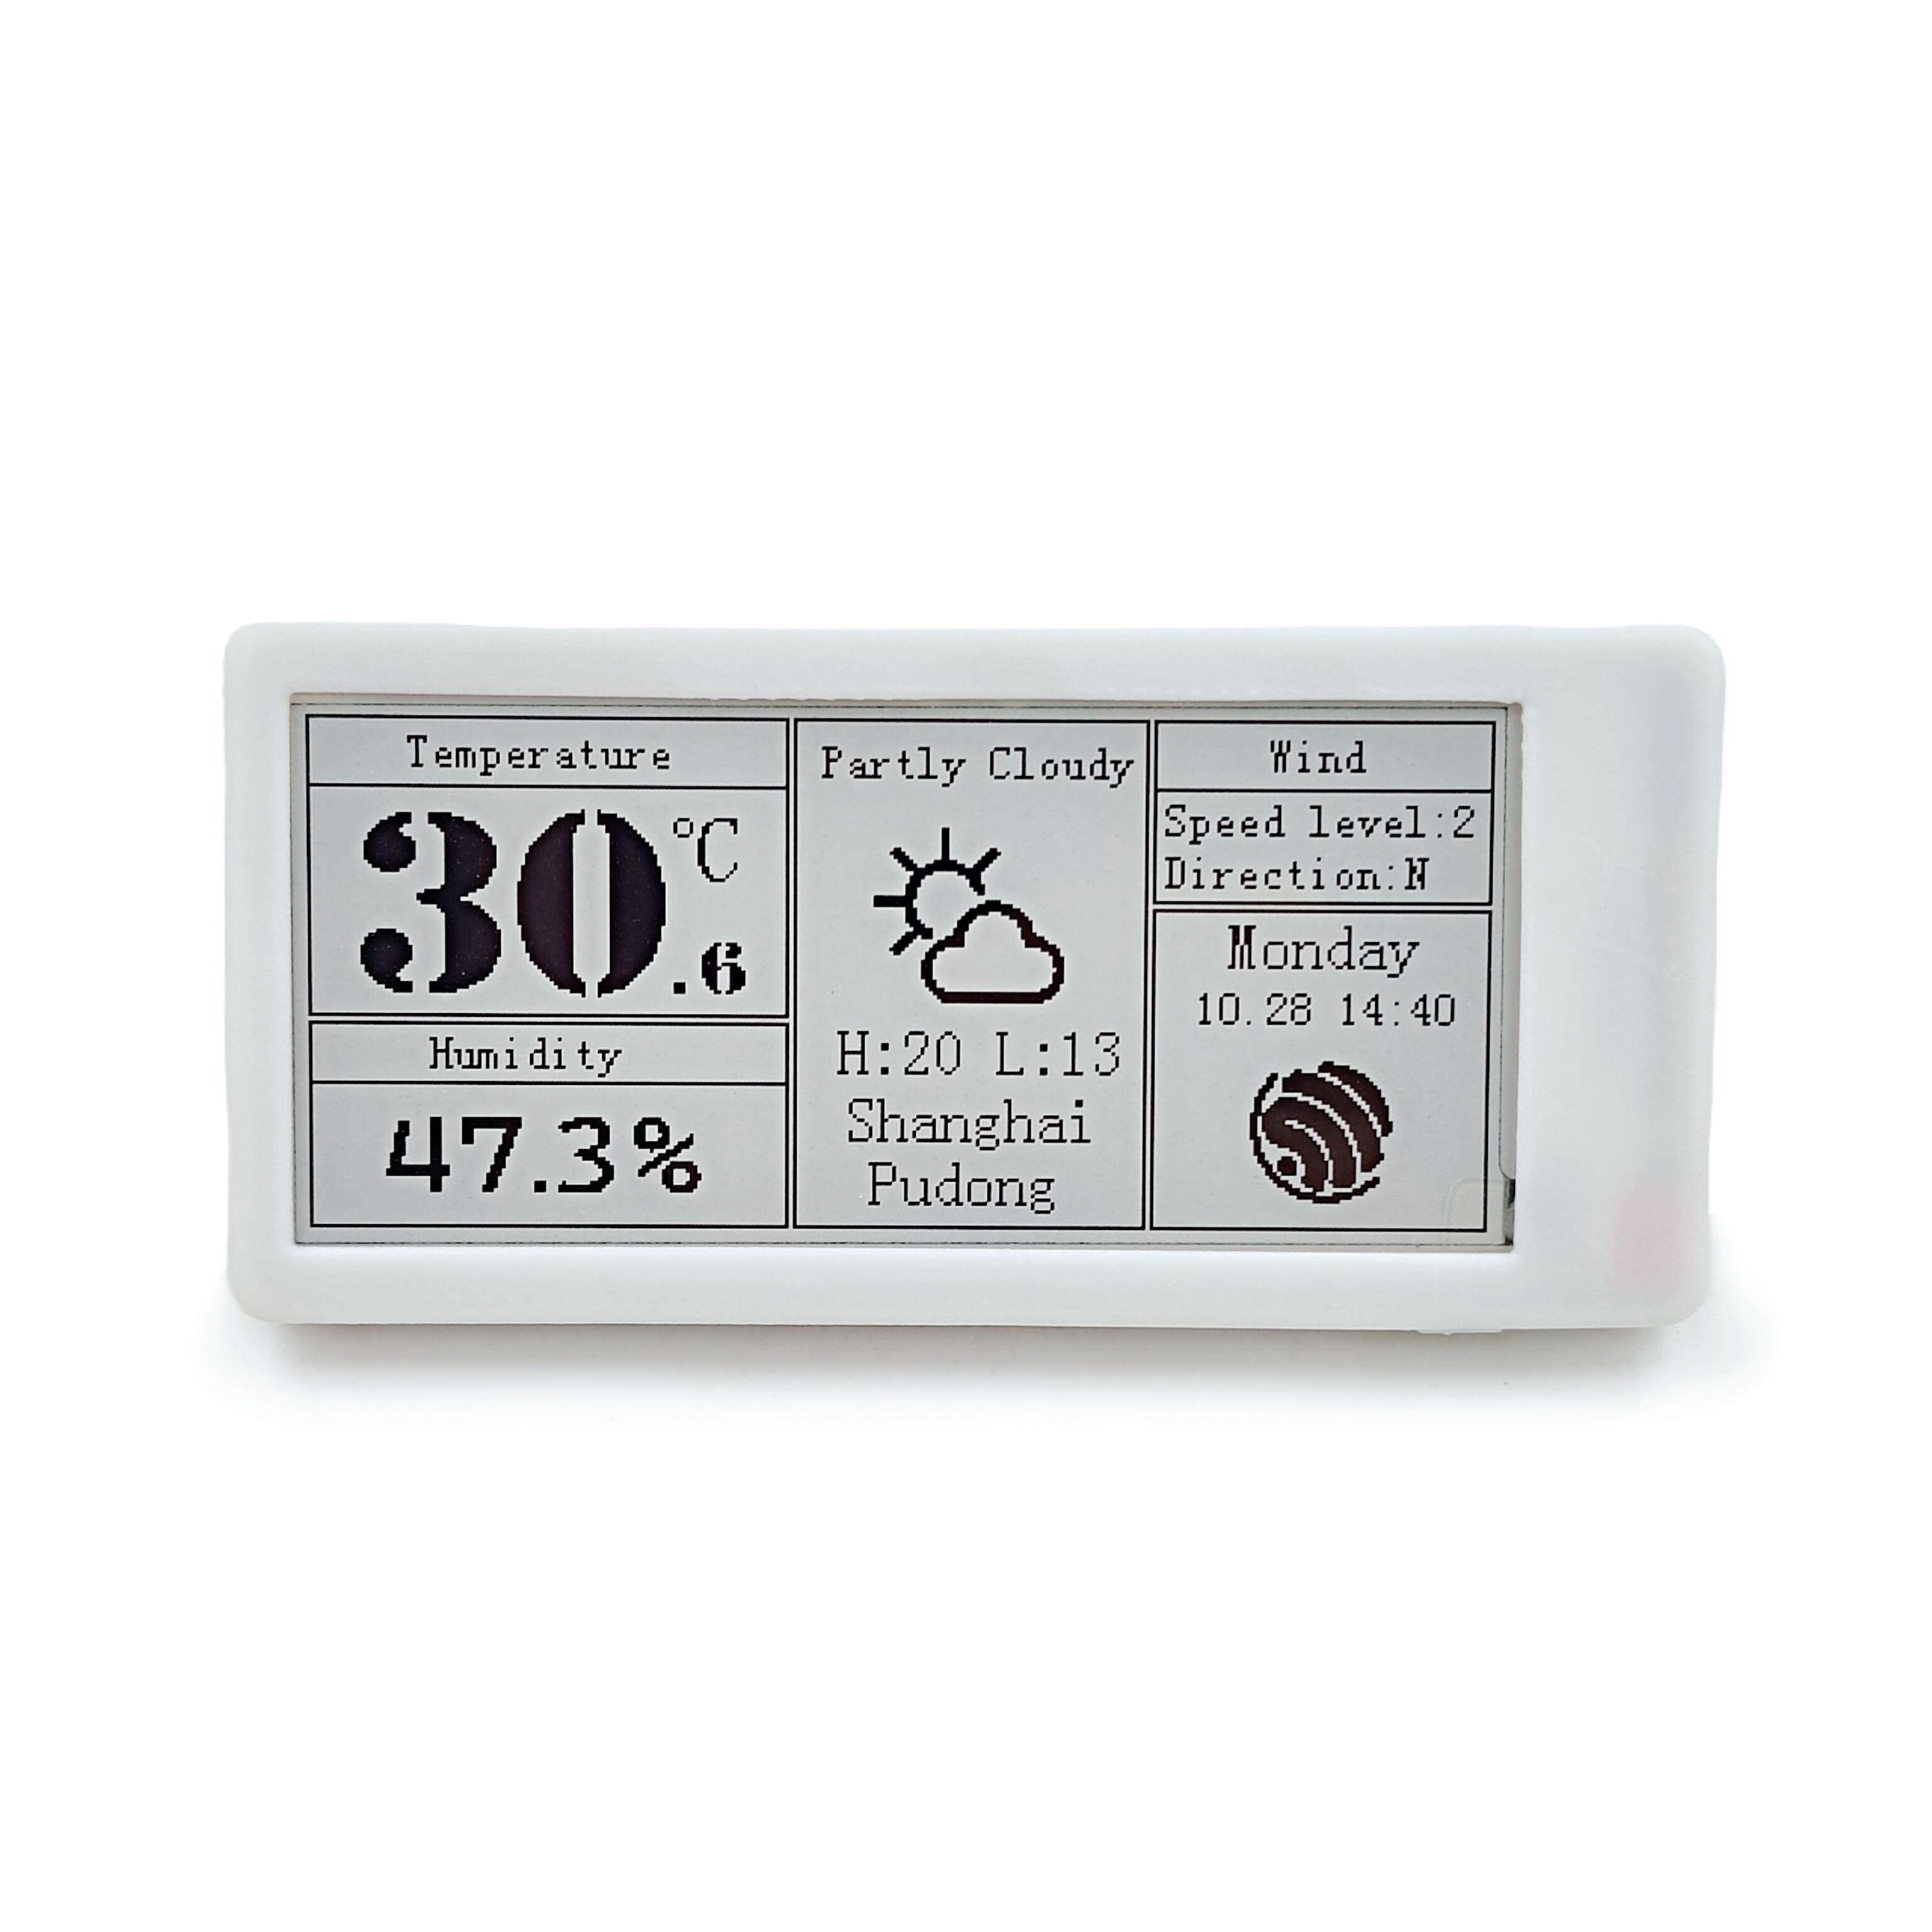
The second is to use Espressif's official reference program. Since the official program does not have a pressure sensor, but only a temperature and humidity sensor, you need to modify the official code yourself. The Espressif official program has rich functions, including weather forecast, temperature and humidity display, mobile app and other functions. , need to explore by yourself.
The usage process of Espressif’s official software is as follows:
Software Process:
Special attention:By default, this example configured to disable Rainmaker data reporting, HTTP weather information retrieval, and ULP UART printing functions. You can use idf.py menuconfig to enable these functions in the LP Environment Sensor Configuration directory.
The project source code has been open sourced on Github! Friends who are interested can download it by themselves! enter link description here
After the system is powered on for the first time, the terminal Log will print out the QR code of the distribution network (connect the board to the computer through the USB cable and view it through the serial port assistant). Scan the QR code through the RainMaker APP to complete the Bluetooth configuration. After connecting to Wi-Fi, the system will configure the RainMaker node information, then obtain weather information and date information through HTTP and display it on the Ink Screen. Finally, the main CPU configures and enables the LP CPU and LP I2C and then enters Deep Sleep mode.
The LP CPU starts working and reads the AHT21B temperature and humidity data through LP I2C. After reading the sensor data, the LP CPU will wake up the main CPU and share the temperature and humidity data with the main CPU.
The main CPU updates the temperature and humidity data to the ink screen and RainMaker APP. Finally, the main CPU enters Deep Sleep mode again.
After that, the LP timer wakes up the LP CPU every 6 seconds (the wake-up interval can be configured through the program). After the LP CPU wakes up, it reads the sensor data and compares it with the previous temperature and humidity data. When the temperature and humidity data changes meet the set conditions (the default configured temperature change threshold is 0.5°C), the LP CPU will wake up the main CPU (the main CPU will not wake up when the data changes do not meet the conditions), and the main CPU will execute " Step 3" operation, repeat from here on.
The default configuration of weather and date information is updated every 3 hours, and the update interval can be configured in the LP CPU program.
Firmware Burning:
Please go to enter link description here for firmware burning.
The burning steps are as follows:
Connect the board to the computer via USB cable, click Connect at the top of the ESP Launchpad page, and select the corresponding COM port. After the connection is successful, Connect will change to Disconnect.
Click Quick Start to enter the Quick Start page, and click the Flash button in the lower left corner of the Quick Start page to burn the firmware.
After the burning is completed, click Reset Device in the upper right corner of the page. Wait a few seconds and you will see the QR code of the distribution network in the Console.
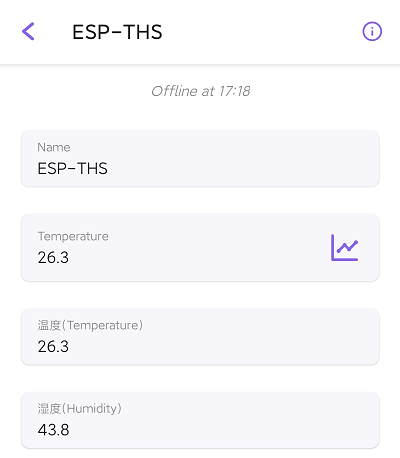
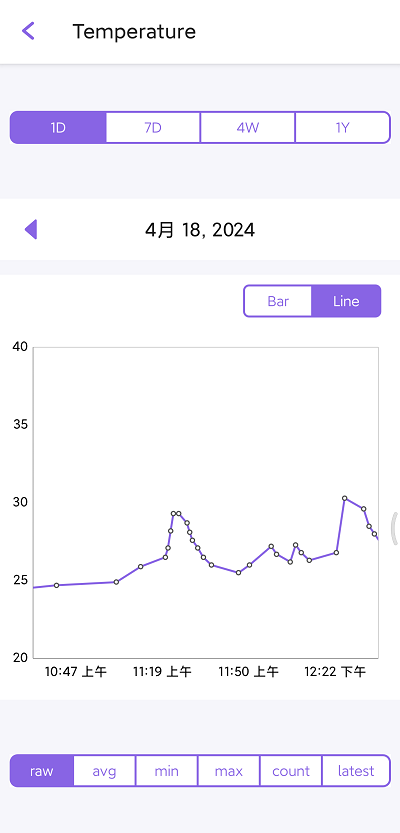
RainMaker APP temperature and humidity data interface:
Product display
Shipping list
A 3D printed case of ESP-C6 E-ink terminal with 200ma battery

No country selected, please select your country to see shipping options.
No rates are available for shipping to .
Enter your email address if you'd like to be notified when ESP32-C6 Temperature, Humidity, Pressure 2.9 E-ink can be shipped to you:
Thanks! We'll let you know when the seller adds shipping rates for your country.
| Shipping Rate | Tracked | Ships From | First Item | Additional Items |
|---|---|---|---|---|
|
:
|
Buy with confidence.
Our Tindie Guarantee protects your purchase from fraud. Learn More
$6.90
Free Shipping!
$19.90
Free Shipping!
$45.90
Free Shipping!
$10.00
Free Shipping!
$14.90
Free Shipping!
$18.00
Free Shipping!
$15.00
Free Shipping!
$15.00
Free Shipping!

$76.54
Free Shipping!

$31.99 $39.99
Free Shipping!
$87.00
Free Shipping!
$35.00
Free Shipping!
By clicking Register, you confirm that you accept our Terms & Conditions
We recognize our top users by making them a Tindarian. Tindarians have access to secret & unreleased features.
We look for the most active & best members of the Tindie community, and invite them to join. There isn't a selection process or form to fill out. The only way to become a Tindarian is by being a nice & active member of the Tindie community!
