A complete Arduino shield lab for experiments and applications on digital potentiometers (PCB only with options)
Designed by Balearic Dynamics in Spain
This product is no longer available for sale.
The seller may be offering an improved version or it may be hanging out on the beach, enjoying the retired life.
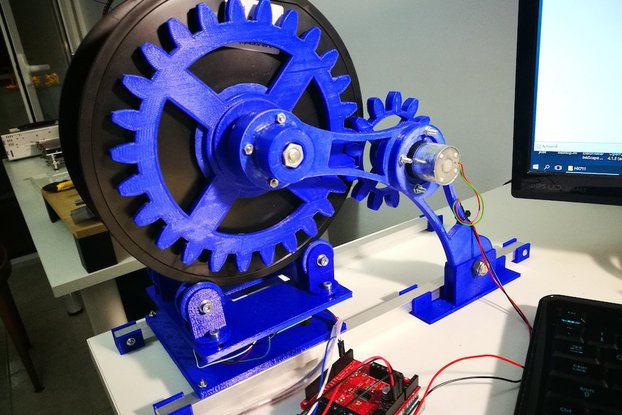
$59.99
Free Shipping!
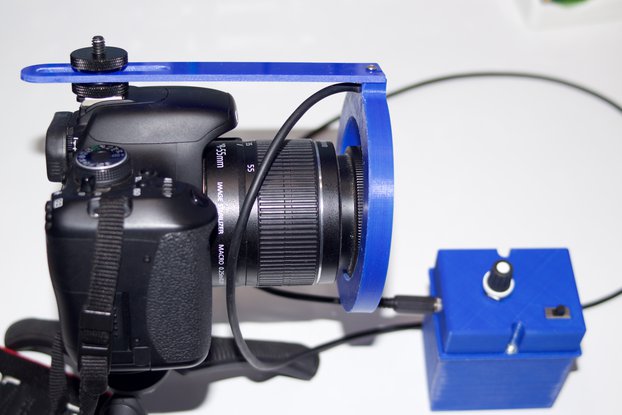
$25.00
Free Shipping!
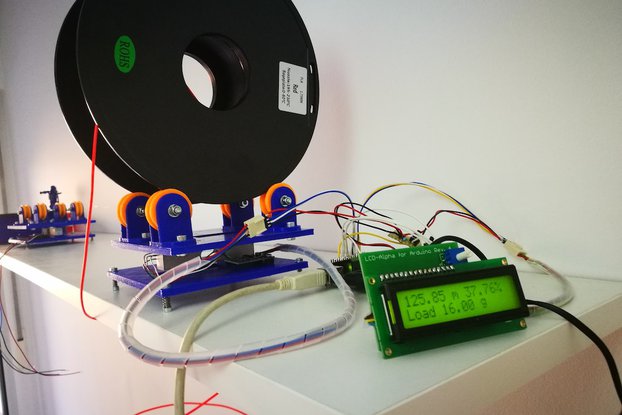
$25.00
Free Shipping!
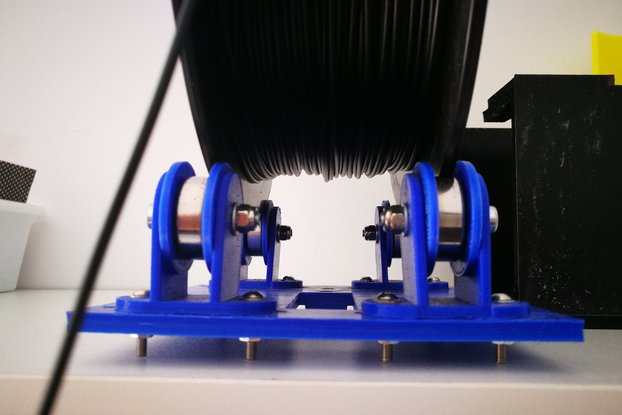
$14.99
Free Shipping!
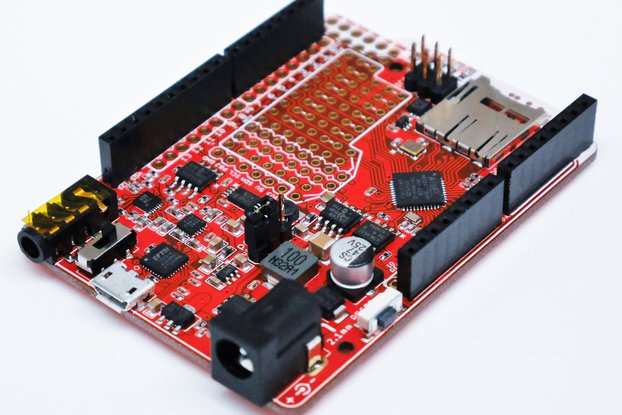
This Digital Potentiometer Arduino Shield is based on AD5206 6 digital potentiometers. The shield includes components to give the user the possibility to experiment real applications, with two sugges…
Read More…This Digital Potentiometer Arduino Shield is based on AD5206 6 digital potentiometers. The shield includes components to give the user the possibility to experiment real applications, with two suggested inspiring examples. A cheap device that can fit in your project, not limited to audio control.
Creating the Digital Potentiometer Arduino Shield I thought to the possible range of uses aiming to produce a sort of cheap "digital potentiometer lab" to carry out actual experiments and applications.
We can find some very basic applications of the AD5206 reviewed in many blogs and sites, including the arduino.cc website "Controlling a digital potentiometer using SPI" Unfortunately these tutorials focus on the way you can control the chip: the SPI (= Serial Peripheral Interface). Also the sample Sketches I have found on the net - limited to very few lines of code - are very simple but also almost useless.
Also the usage suggestions are very poor: you can control digitally the audio levels of some devices. But then? It's up to you. Nothing else.
Why we should use - in a real scenario - a digital potentiometer? As a matter of fact, we should use a digital potentiometer in every case we need a variable resistance controlled by another event. For example, one of the most common ways is changing the volume of an amplified sound depending on an external condition, e.g. the audio volume: with a sound sensor in a room we can adjust the music output level in order to compensate the room noise. Another example may be a sensor following the movement of a subject to increase the sound level of the neartest speakers. By continuing the exploration of the world of audio controls we will discover almost unlimited possibilities.
But audio is not the only case, as you can see in the video showing how this shield works.
So, not only the shield circuit connects the AD5206 Digital Potentiomer device to the SPI signals of the Arduino board.
There are 6 trimmers connected to the 6 analog PINs on the Arduino board to be used for testing purposes or to generate an analog predefined value (e.g. as a preset level for the microcontroller). The triggers can be excluded one by one through the dip switch freeing the corresponding Analog PIN for other usages.
The SPI Clock Signal is also connected to a yellow LED: when it is blinking the communication between Arduino and the AD5206 device is working and the digital potentiometer is receiving data.
As the device can work at a reference VCC between 2,7 and 5,5V the jumper JP3 (Internal Pwr) uses the Arduino power supply. When unplugged, an external reference voltage can be used. In this case the external reference voltage should be connected to the pin 2 of the connector JP1.
Connected in parallel to each potentiometer output of the SD5206 there is a red LED for testing purposes (LED1 ... LED6). When connecting an external device, it is preferable to disable the test LEDs disconnecting the jumper JP2. The 6 digital potentiometers outputs are available on the pins 3-8 of the external connector JP1.
| Quantity | Price |
|---|---|
| 1 | $10.00 |
| 2-4 | $20.00 |
| 5-9 | $18.00 |
| 10+ | $15.00 |

$59.99
Free Shipping!

$25.00
Free Shipping!

$25.00
Free Shipping!

$14.99
Free Shipping!
$20.00
Free Shipping!
$19.50
Free Shipping!
$30.00
Free Shipping!
$1.50
Free Shipping!
$59.00
Free Shipping!
By clicking Register, you confirm that you accept our Terms & Conditions
We recognize our top users by making them a Tindarian. Tindarians have access to secret & unreleased features.
We look for the most active & best members of the Tindie community, and invite them to join. There isn't a selection process or form to fill out. The only way to become a Tindarian is by being a nice & active member of the Tindie community!
