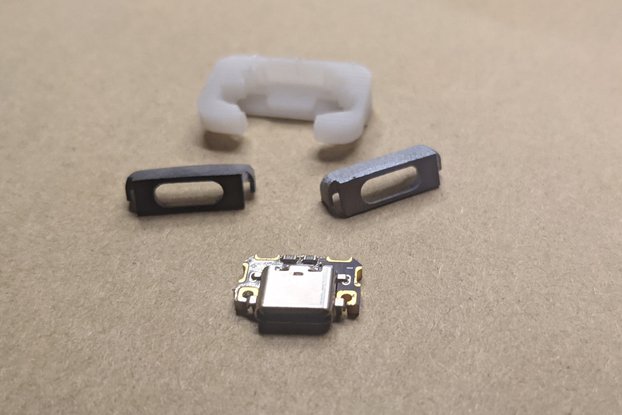
A parts kit to add USB-C charging to the DS ORIGINAL, supports USBC to USBC charging
Designed by BronxDIY in United States of America
Buy with confidence.
Our Tindie Guarantee protects your purchase from fraud. Learn More
This is a PCB USB-C charging port to replace the original charging port on the Nintendo DS (original or phat), this port works with USB-C to USB-C cable charging so you don't need to worry about havi…
Read More…This is a PCB USB-C charging port to replace the original charging port on the Nintendo DS (original or phat), this port works with USB-C to USB-C cable charging so you don't need to worry about having a USB to USB-C cable.
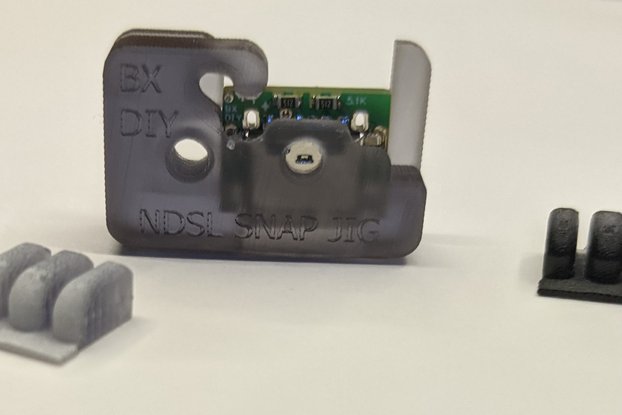
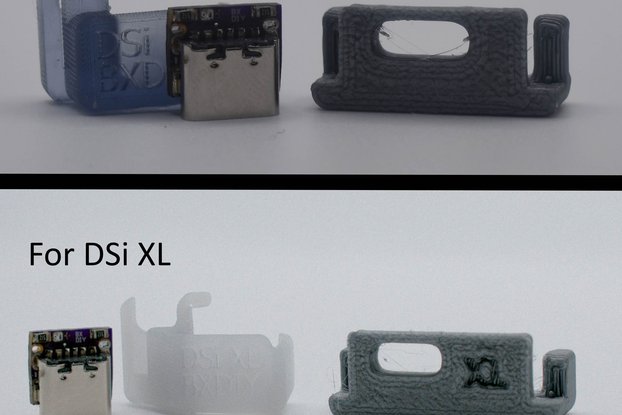
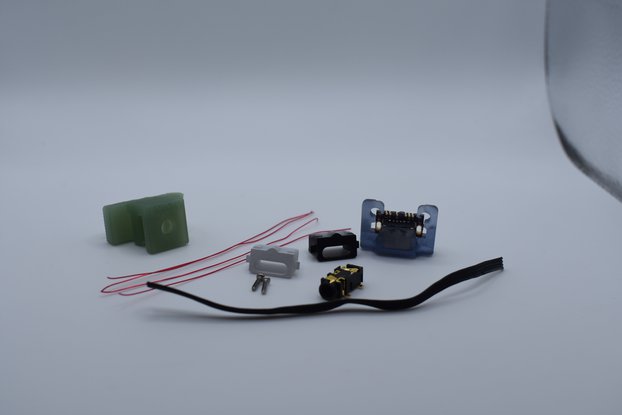
The Installation jig allows you to solder down the board while holding the PCB in perfect alignment
Here is my installation process:
SOLDERING
Disassemble your DSO to remove the motherboard, it's not strictly necessary to remove the left and right shoulder buttons but it is highly recommended that you remove them and safely store them as they will probably come out during the mod.
With the motherboard removed apply flux to the old charge port and remove it with a soldering iron or hot air station.
With the charge port removed use soldering braid to wick up excess solder from the pads, do so slowly and carefully you don't want to lift pads. Throughout the whole process your soldering iron doesn't ever need to be hotter than 300C.
Place the diy USBC kit board into the resin tab jig and slip the tab jig onto the motherboard push in firmly but carefully and check that the holes and pads are all lined up with each other.
Apply flux to the big through hole pads on the sides of the kit board, then solder them in with your iron. I like to apply enough solder that some droops through the motherboard to the other side, if you apply heat for too long a big glop of solder can fall through so there's no need to be excessive.
Apply flux to the tiny pads along the top of the kit board and then solder them all in place.
Take out your multimeter and make sure none of pads on the top row are connected (0 ohm, continuity test beep) as none of them should be. Snap the arms of the jig and remove it. Also test the ground and power pads against the testpoints shown in the photo and make sure power isn't shorted to ground.
You may need to make some slight cuts to the charge port 'cage' on the back half of the DSO case to get it to fit.
Slip the bezel on and put the shoulder buttons back on
Put the back case back on, look at the power port 'cage' on the back case and take note of the two notches on the left and right side. Line up those notches with the flange/wings of the bezel when placing the back case back on.
Screw everything back together if there's an excessive gap refer to step 8 and trim the power cage shorter.
REQUIRED BUT NOT INCLUDED TOOLS:
(highly) RECOMMENDED BUT NOT INCLUDED TOOLS:
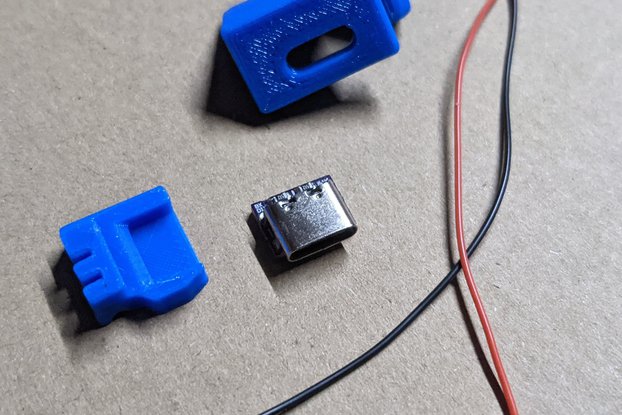
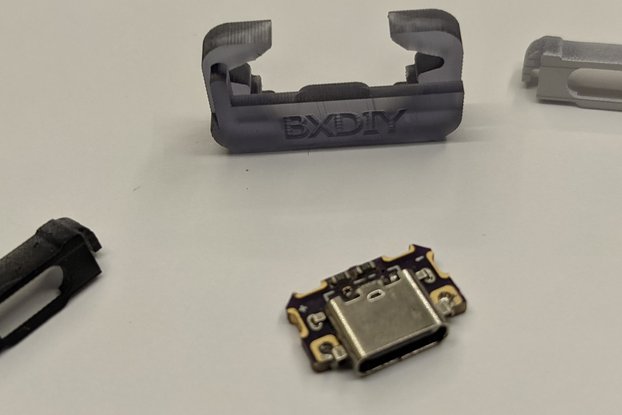
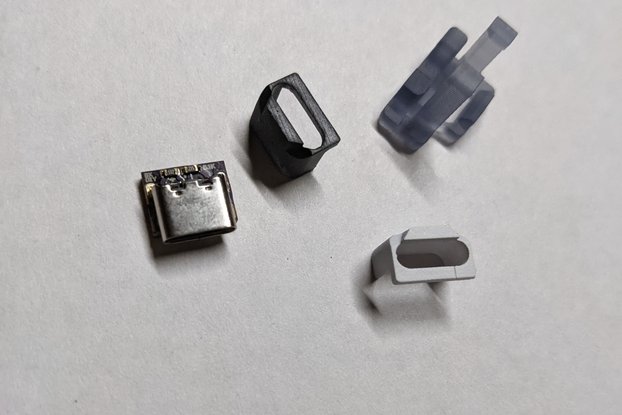
INCLUDED:
MOD DIFFICULTY: Fairly simple, probably the easiest ones I've, made even disassembly is easier on the original DS.
No country selected, please select your country to see shipping options.
No rates are available for shipping to .
Enter your email address if you'd like to be notified when DS original USB-C mod kit w/ snapjig+bezel can be shipped to you:
Thanks! We'll let you know when the seller adds shipping rates for your country.
| Shipping Rate | Tracked | Ships From | First Item | Additional Items |
|---|---|---|---|---|
|
:
|
Buy with confidence.
Our Tindie Guarantee protects your purchase from fraud. Learn More
$12.00
Free Shipping!
$12.00
Free Shipping!
$12.00
Free Shipping!
$12.00
Free Shipping!
$12.00
Free Shipping!

$12.00
Free Shipping!
$12.00
Free Shipping!
$20.00
Free Shipping!

$12.00
Free Shipping!

$12.00
Free Shipping!

$12.00
Free Shipping!

$12.00
Free Shipping!
By clicking Register, you confirm that you accept our Terms & Conditions
We recognize our top users by making them a Tindarian. Tindarians have access to secret & unreleased features.
We look for the most active & best members of the Tindie community, and invite them to join. There isn't a selection process or form to fill out. The only way to become a Tindarian is by being a nice & active member of the Tindie community!
