Oscilloscope clock cathode ray tube 3RP1 CRT GPS option
Designed by Oscilloscope clocks in United States of AmericaNo shipping info available.
Set destination country to see options
Shipping to starts at
Free shipping is available to !
Ships from
This item does not ship to .
More Info
Sign up to get notified when this product is back in stock!
This is a store featuring my homemade electronic novelty clocks, made using obsolete electronic tubes, and my kits designed for diy for these clocks.
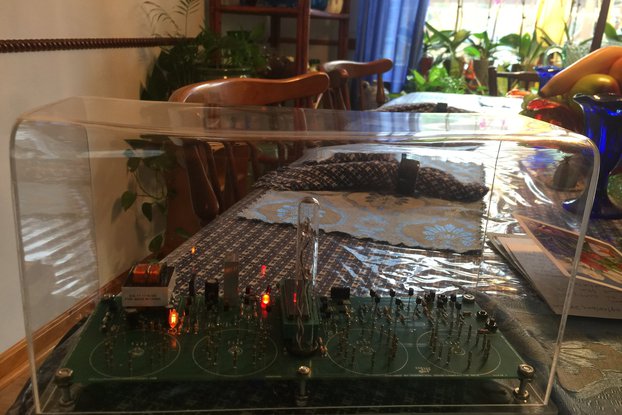
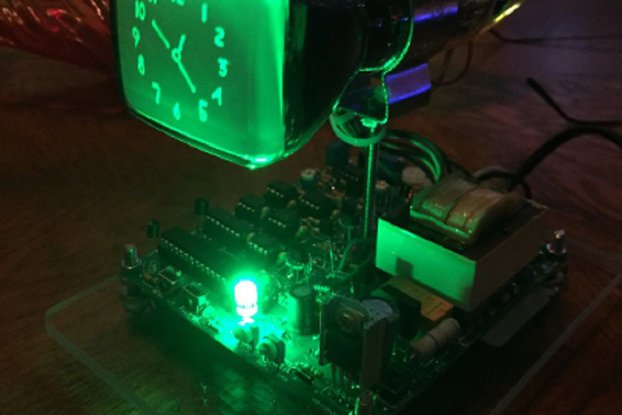
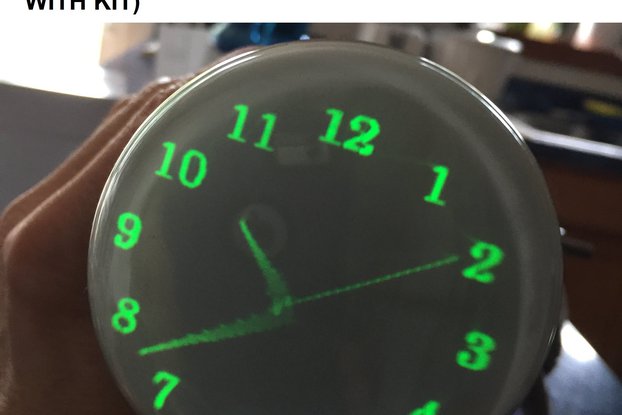
Oscilloscope clock 3RP1 CRT. GPS module optional. Bluetooth option. Instructions for OSC7.8: When the scope clock is plugged in, the blue led & the small led on the module should light immediately. …
Read More…Oscilloscope clock 3RP1 CRT. GPS module optional. Bluetooth option. Instructions for OSC7.8:
When the scope clock is plugged in, the blue led & the small led on the module should light immediately.
GPS mode:
If the clock is set to GPS mode (default), the relay will click on within three seconds and the neon bulb will light.
Run mode will appear when the CRT is warmed up and time will start.
If equipped with the GPS module, the module will search for satellite signal, and will blink once per second
when a strong lock is obtained. (typically this takes up to twenty minutes, depending on your location)
The time can be refreshed by pressing and holding fast set & then toggle, and then release both buttons.
This can be done as necessary to refresh the time until the correct time & date are obtained from satellite signal.
To display the date, press and hold slow set & toggle and then release. Press fast set once to reenter run mode & refresh time.
Time will automatically refresh from GPS at 12:00 & 24:00.
(In the menu, select WIFI GPS for this mode.)
Menu mode:
To change the mode between Wifi, GPS or manual, please access the menu by unplugging and holding down on fast set &
slow set buttons while plugging in, and hold for three seconds or until the relay clicks on.
The menu looks as:
>FREQ 60 (frequency 60HZ or 50 for 50HZ)
TIMEZONE 1 (please select time zone from list below)
DST ON (daylight savings time, select on or off)
WIFI ON (select WIFI ON for wifi mode, WIFI OFF for manual, WIFI GPS for GPS mode)
ALT (select clock display mode, alternating, digital, analog, Roman numeral, 24 HR.)
In the Menu screen above, use fast set to select the line indicated by the arrow, and use slow set to
change the selection.
When the Menu settings are correct, press toggle and hold for two seconds to exit and return to the run screen.
WiFi mode:
First set the WIFI to WIFI ON in the menu mode.
To connect the clock to your network via wifi, start from power on, unplug and wait a few minutes if it's already powered on.
While pressing & holding the "toggle" button, plug in and hold for four seconds and then release to enter AP mode.
Use your device to look for the AP "WifiModule" on your networks.
Connect to this AP, and when connected, open your browser and type "192.168.4.1" in the address bar.
This should pull up the Wifi module connect page.
Enter your network name or SSID and your network password.
PLEASE NOTE: White spaces in the network name and/or password may cause connection issues.
Click "Submit" button and the confirmation page should appear.
Within a few minutes, the clock should connect to the network and the neon bulb (high voltage) should light.
If the clock doesn't connect after several minutes, try resetting the chip by pressing the miniature button on the ESP32 board
marked "EN" or alternatively, just unplug the clock and wait a few minutes, then plug it back in and it should connect.
The time should appear. If incorrect, press the "fast set" button and hold and press the "toggle" button and then release to refresh the time.
To erase the network name & password, press and hold toggle button while powering the clock on, and release after four seconds.
Wifi should go into AP mode, allowing connection to enter new credentials.
If the clock does not seem to connet, it may still be in another mode, please enter the menu mode to confirm the setting is WIFI ON.
From the run screen, press slow set & toggle simultaneously to display the day & date.
From the date screen, press fast set to return to the time screen.
From the date screen, press slow set & fast set simultaneously to enter the Menu screen.
From the run screen, press fast set & toggle simultaneously to refresh the time.
Sleep/wake mode:
To set the sleep/wake times, press fast set & slow set, and the screen will appear for setting the "on" time.
Use fast set to choose the display on (wake) time (hours only).
Press toggle once to enter the "off" time screen.
Fast set to select the off time, and toggle once to exit to run screen.
Please note that in order to program a PM "off" time, you will need to pass 12:00 to get into the PM hours.
Manual mode:
For this mode please select WIFI OFF in the menu mode.
When manual mode is selected, the display will go to run mode (clock face) or "Oscilloscope clocks"
Press slow set button again to start, and use fast set & slow set to set the time.
Toggle button will toggle the display on & off, just press once.
If the display appears to "jitter" and display appears to be skewed in this mode, please power cycle once, and press and hold the toggle button while powering the clock on, and release after four seconds to erase any erroneous settings, and then power cycle it once more. If this still doesn't correct the problem, try connecting to a network first, then go back into the menu and reset to WIFI OFF for manual.
Time Zones :
1 = EST
2 = CST
3 = MST
4 = PST
5 = AKST
6 = HAST
7 = BST
8 = CEST
9 = MSK
10 = PHT
No country selected, please select your country to see shipping options.
No rates are available for shipping to .
Enter your email address if you'd like to be notified when Oscilloscope clock 3RP1 CRT scope clock can be shipped to you:
Thanks! We'll let you know when the seller adds shipping rates for your country.
| Shipping Rate | Tracked | Ships From | First Item | Additional Items |
|---|---|---|---|---|
|
:
|
No shipping info available.
Set destination country to see options
Shipping to starts at
Free shipping is available to !
Ships from
This item does not ship to .
More Info
Sign up to get notified when this product is back in stock!
Finksburg, MD, United States of America
Ships from United States of America.
4 Reviews | 112 Orders
$395.00
Free Shipping!
$325.00
Free Shipping!

$325.00
Free Shipping!
$105.00
Free Shipping!
$100.00
Free Shipping!
$130.00
Free Shipping!

$265.00
Free Shipping!
$175.00
Free Shipping!
$49.99
Free Shipping!
$9.34 $10.99
Free Shipping!

$175.00
Free Shipping!

$100.00
Free Shipping!
By clicking Register, you confirm that you accept our Terms & Conditions
We recognize our top users by making them a Tindarian. Tindarians have access to secret & unreleased features.
We look for the most active & best members of the Tindie community, and invite them to join. There isn't a selection process or form to fill out. The only way to become a Tindarian is by being a nice & active member of the Tindie community!
