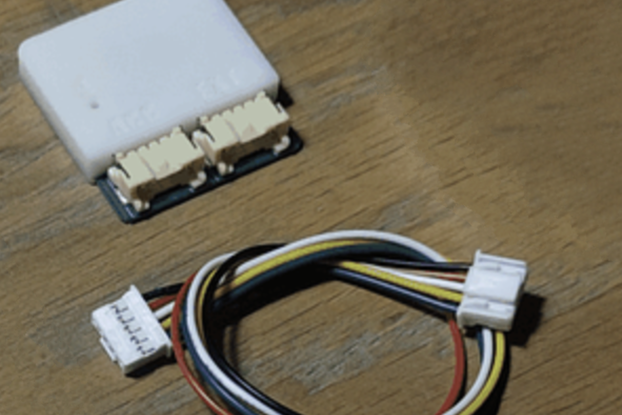
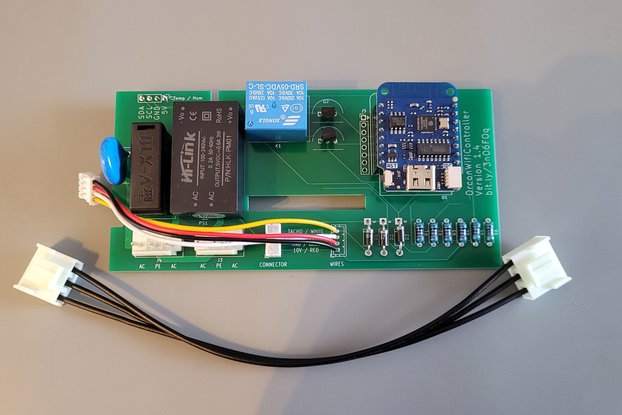
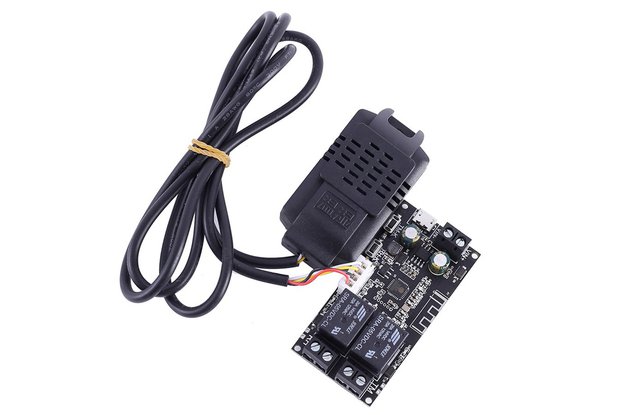
A WiFi Cloud Controller based on ESP8266 and Blynk App- with 3x relays to control humidity, temperature or both.
Designed by untrol.io in New Zealand
This product is no longer available for sale.
The seller may be offering an improved version or it may be hanging out on the beach, enjoying the retired life.
A Wireless Cloud Controller based on ESP8266 and Blynk - Yet Another Blynk Controller a ESP8266 based 3x relay controller with Blynk APP. Control temperature, humidity and others thru the Cloud The c…
Read More…A Wireless Cloud Controller based on ESP8266 and Blynk - Yet Another Blynk Controller a ESP8266 based 3x relay controller with Blynk APP. Control temperature, humidity and others thru the Cloud
The concept is the same for a lot of different application, green houses, home brewing, mushrooms, spa pools, heaters and so forth.
I believe temperature control is one of the most popular applications of IoT, Wifi and Blynk and probably the most monitored variable around, therefore decided to build this project and share with you. The thing that annoys me the most is those flimsy terminals on cheap board that do not hold cables properly, leaving live wires exposed and on top of that, all my attempts to find “nice looking” cases for the DIY projects using different boards failed, and never tried 3D printing.
As the ESP8266 has some peculiarities about which pin can be used as a sensor and as a Relay as it changes its state during booting I changed some pins around.
You can connect the I2C sensors to the Wifi Cloud temperature humidity controller or use the famous One Wire sensors DB18B20.
Just download the free BLynk App and scan the provided QR code.
The firmware has all you need to control Heating and Cooling using Blynk Cloud App. Press and hold the button for 3 seconds or more and the board will start the Access point mode "YABC-xxxxx" followed by the 6 last digits of the board MAC address.
Connect to the network (no password required) and the Captive Portal should start automatically, if it doesn't start, please go to your internet browser and go to 192.168.4.1 the following configuration screens will be available, insert your WiFi credentials, Blynk Authentication number retrieved from the App when cloning the above project and select your temperature probe and save.
After savind the configuration the board will restart and connect to the WiFi informed and if everything is right you can start using your Blynk App and Control the temperature with your own IoT controller.

$37.00
Free Shipping!

$57.95
Free Shipping!

$94.00
Free Shipping!

$15.99
Free Shipping!
By clicking Register, you confirm that you accept our Terms & Conditions
We recognize our top users by making them a Tindarian. Tindarians have access to secret & unreleased features.
We look for the most active & best members of the Tindie community, and invite them to join. There isn't a selection process or form to fill out. The only way to become a Tindarian is by being a nice & active member of the Tindie community!
